

How to Make a DIY Shower Curtain
A Tutorial. Sort of.
You know I’m not big on tutorials. I normally couldn’t care less about teaching you anything (it’s all about me…) but, because it’s the season of giving, I’ve decided to give you the gift of the DIY shower curtain! Yeah, I did say DIY. You have to make it yourself. Some gift, right? Sorry. No refunds or exchanges…

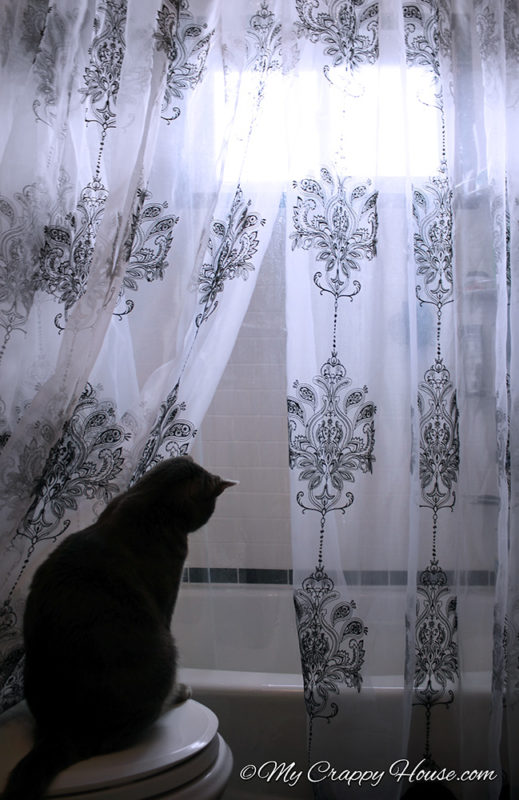
In my last post I showed you the new shower curtain I made. I must confess it was a half assed rush job. I only had like 6 months to get it done, so of course I made it at 3am the night before posting it on the internet for the world to see. (Yes, the whole world reads my blog. I’m very popular.) Because it was a half assed rush job, I wasn’t all that happy with how it turned out.
DIY Shower curtain 2.0 will have a pattern that matches up slightly better. (Sadly, I don’t have enough fabric to match the pattern exactly because I bought it over a year ago when I didn’t know what project I would be using it for.) I’m going to rearrange the order of the panels so the unevenness (it’s a word…) looks more intentional.
It will also have some trim at the top and bottom because I think it needs a little contrast.

This (sort of, but not really) tutorial assumes that you possess some semblance of logic, have some basic intermediate ( ? ) sewing knowledge, and that you’re too picky to just freaking buy a pre-made shower curtain like 99.999% of the population.
Here’s What You’ll Need
OK. Now that we’ve established that you’re a control freak and none of the thousands of shower curtains sold in stores will do, you need to buy a shower curtain liner. Why? Well, the curtain you make will be plain fabric. Just try taking a shower with only a fabric curtain and see what happens. Or you could use that logic we just talked about and buy a liner. I prefer clear, but you can get whatever color you want.
![]()
Let’s get started!
- Step 1: Make a fabric curtain that exactly matches the liner you just bought.
- Step 2: Hang it up with the liner.
- Step 3: You’re done. Start accepting compliments.

Yeah, okay. I can do a little better than that.
The Real (Sort Of) Tutorial
So, what you need are 3 fabric panels that are 50 to 60 inches wide (which, I find, creates just the right fullness when gathered) by approximately 72 inches high (which, coincidentally, matches the height of that shower curtain liner you just bought).
You can buy three, 84 inch, pre-made window curtain panels, like these. (You need them a little long so you’ll have extra fabric to make a casing. Just trust me.) Using premade curtains to make a shower curtain is by far the easiest way and what I did to make this one:
Or, you can be difficult and buy a fabric that you like at your local fabric supply store. Most fabrics come 54 inches wide, which works out well. Make sure you buy enough for 3 panels, plus extra for a casing at the top and a hem at the bottom and even more extra if you’re matching a pattern. You’ll be really pissed if you come up short. Use those math skills.
Yeah, OK. A real tutorial would give you actual measurements, so here you go… 72 + 72 + 72 (for the panel height) + 6 +6 + 6 (for the hem and casing) = 234 inches, divided by 36 = 6.5 yards. I’d round it up to seven yards to be on the safe side. (You’re on your own if you’re matching a pattern. I refuse to be an enabler.)
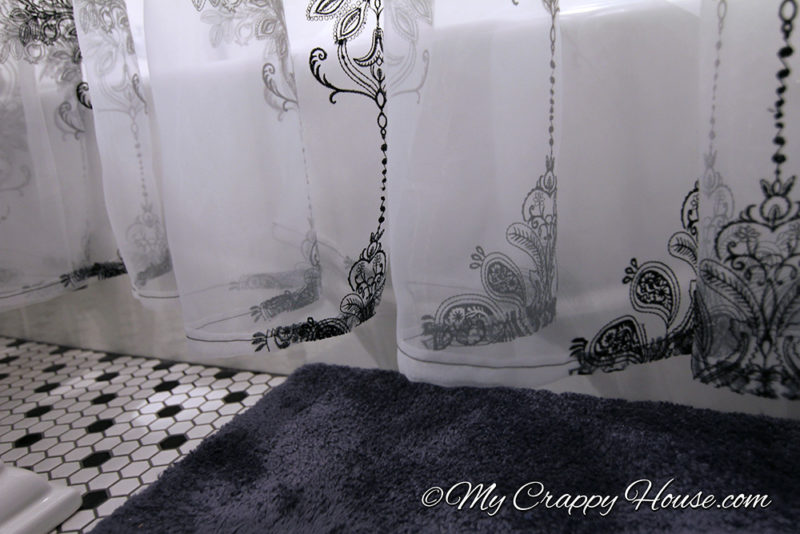
You can either do a rolled hem like I did on Shower Curtain 1.0:
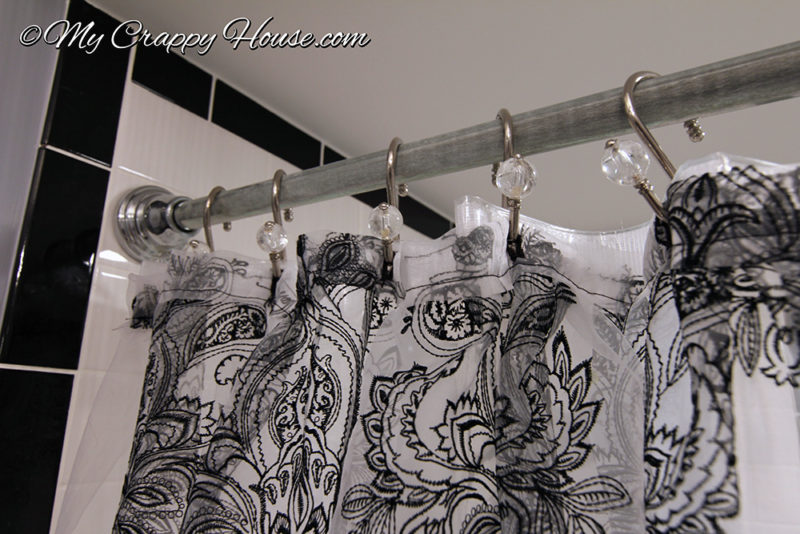
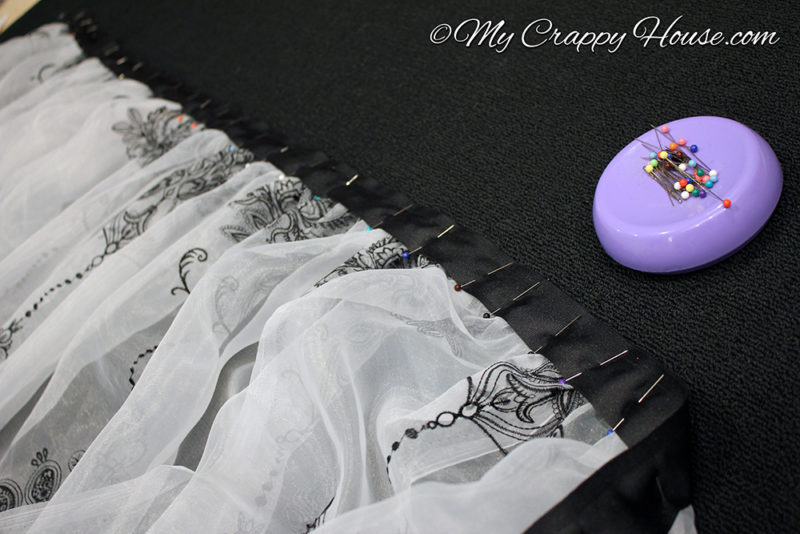
or you can use ribbon trim like I did for version 2.0:

OK, so now you have your 3 panels. They’re all hemmed at the bottom. (If you’re using pre-made curtains, just cut the tops off and leave the bottom hem intact.) They’re all 72″ high. Even the pattern matches. You are awesome.
Here’s Where You Need to Start Paying Attention
If you were only skimming this post because you’re annoyed with me for wasting your valuable time with this crappy tutorial, now is where you may want to pay attention because this information I’m about to give you is actually useful…
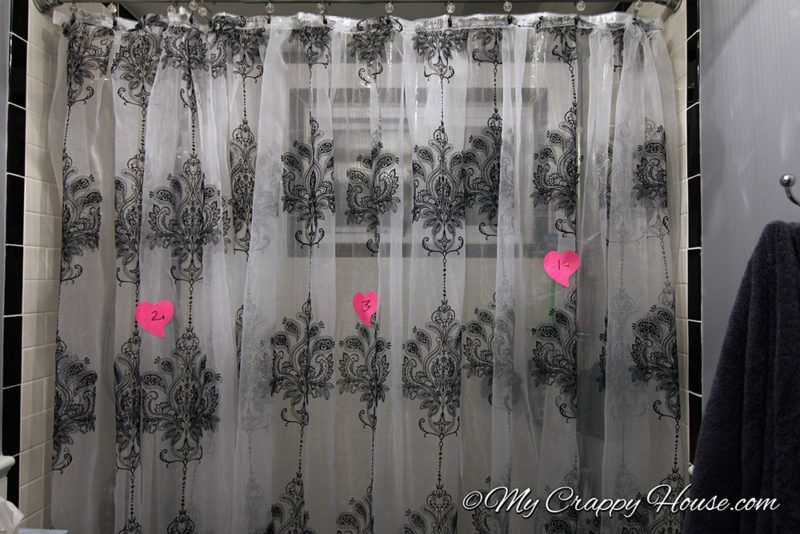
You do not need to sew the panel sides together. (I know. Mind = blown.) All you have to do is take your first two panels and overlap them by like 5 or 6 inches, then stitch them together at the top only.

Attach your third panel the same way. Each panel will hang freely, and they will look like they are all attached when they’re gathered, but they really won’t be. Only you will know the truth… It’s the best kept secret in the DIY shower curtain making universe. For reals.
OK, you can zone out again because you’re pretty much on your own for the rest.
You need to evenly gather the top until the width matches that of your shower curtain liner (typically, 72 inches), sew a casing made of extra fabric or ribbon (like this) on there, then make button holes that match the hole spacing on your liner.
I thought I would have the energy to give you detailed instructions, but it turns out laziness prevails and I just can’t make myself care enough. (At an intermediate sewing level, do you really even need detailed instructions anyway? I would just be patronizing you…) I did take a few pictures of the process though, so, since a picture is worth a thousand words, here are like seven thousand of them…


So there you have it. The DIY shower curtain that you have to make yourself. My gift to you this holiday season. I know. I suck. Why do you even read my crappy blog?
Oh boy… I feel a pointless poll coming on…
*This post contains affiliate links.

18 Comments
Jengland
I don’t no why I chose DIY Ninja when I truly like Egor-I really have nothing better to do (I’m at work)-and you truly, truly amuse me. Just a pinch more sarcasm would make you a true smartass! Stay true into the new year Grasshopper. I truly like your blog.
My Crappy House
I’m smiling because you called me Grasshopper
Aferal
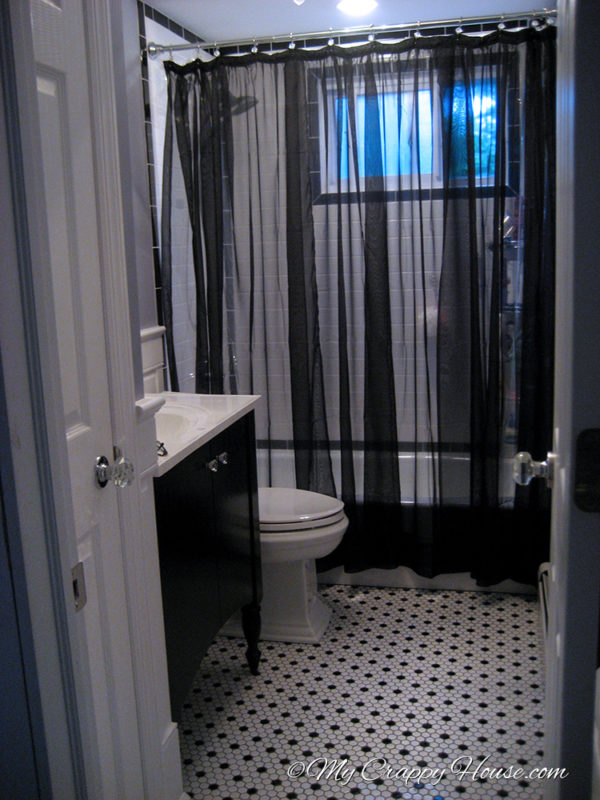
I love 2.0. The ribbon adds definition. Although is it 2.0? There were the black sheers, which were uber chic. Yet, they made the bathroom seem too dark to see anything? Beautiful end result. Pulls your bathroom together perfectly!=^_^*=
My Crappy House
You know, you have a point. Maybe the black one was 1.0, the first go at the white one was 2.0 and now I’m at 2.1? Anyway, you are very insightful. I loved my black shower curtain, but then I had to take it down for a while when I was installing the ventilation fan. That took like… a year (!) to finish (I couldn’t find the energy to spackle and paint) so when I finally did finish and put that curtain back, it looked so dark in there! This one allows much more light in. It’s a little girly, but I’m a girl so it’s OK
LaFawne
Love your work. Love your blog. My only complaint? You should post more often! Screw real life, your online fans are more important
My Crappy House
I know! I know! I’m awful. This is my number one New Year’s resolution! I’m going to really try!
pedro
May God bless your home with peace, joy and love. Have a merry Christmas!
My Crappy House
Thank you! Merry Christmas and Happy New Year to you
Jill
That’s a beautiful shower curtain. Well done! You have mad skilz.
I generally get my shower curtains in one of two ways. I either buy one for $450 from Anthromorpology and lie to my husband about how much it cost, or I go to open houses in fancy neighborhoods and steal them when the Realtor isn’t looking. Both ways are easier than sewing.
My Crappy House
Ahh, you think outside of the box. I like it!
lisa
Best Christmas diy ever.
My Crappy House
Thanks! Merry Christmas!
Missy
Love it! I love the detail and time you spent on this. I think I spent less time picking out my wedding dress! I wish I had the patience for projects or I wish I was rich so you could quit your job, and I could hire you to decorate my house which in turn would allow you time to finish your house and write more blogs for us. Happy New Year!
My Crappy House
It’s called obsessive compulsive disorder and I do believe I have it. I’m not sure I’m on board with your wish. You have me doing double the work I have now! Can’t I be rich too? And we’ll hire Nate Berkus and Candice Olson to finish both our houses. Then I’ll start blogging about relaxing and crap.
Daphne Barber
You know it’s bad when you’re sending out Christmas cards on Jan 1st LoL.
But seriously, great idea for using 3 panals!
Wishing you peace and sanity in the new year
My Crappy House
Hey, at least you’re sending them! That’s more than I can say…
Happy New Year!
Monika
It’s beautiful!
Where can I buy this fabric?
My Crappy House
I’d be shocked if you could find it now. I bought it at a local fabric store about 5 years ago. I’m sorry I can’t be more helpful